What to do when weather halts a build
With self-build projects taking months and even years to complete, it’s almost inevitable that builds will be affected or even halted by weather conditions. As a result, self-builders are left feeling unproductive.
Here, we highlight some tasks that can be completed regardless of the weather, helping you get organised in time for the recommencement of build work.
Plan for weather-based delays
If your production schedule doesn’t allow for weather-based days, you’re setting yourself up for a self-build journey that’s even more challenging than it needs to be.
Activities that can be impacted by rain, such as earthworks, should be scheduled for drier periods. Plan activities such as roofing and lifting large loads to happen outside the windy season, and close buildings up ahead of the wetter, colder months. It’s important to understand the expected weather conditions and allow additional time in the schedule to compensate for potential delays.

Get ahead on the decor
While details such as floor finishes, wallpaper, and paint colours may seem insignificant at this point, pinning your choices down now may give you scope to get the schedule back on track during the finishing phases. If construction work is in the particularly early stages and you haven’t decided upon these aspects already, you can also look at transitions from one room to another, and consider sizes and frames for doors and windows.
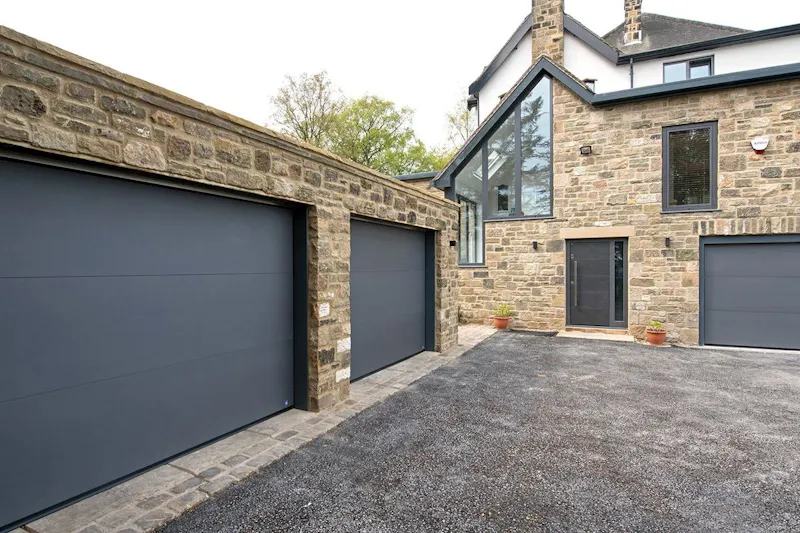
You’ll have specified bespoke doors that require being built into the walls earlier in the design process (secret doors or pivot doors, for example). But at this stage, you can consider all other internal, front, and garage doors. The style, design, and configuration of your doors can be chosen based on your own personal preferences, the design of your home, and the main function the door will undertake. For example, is it a space-saving solution or needed for privacy?
If you have a large space to work with, you might opt for the iconic-looking floor-to-ceiling double hinged leaf doors for dramatic effect. Alternatively, you might like to create a temporary division with stunning sliding or pocket doors that can be open or closed whenever the mood suits.
Order building materials
If the construction stage is already underway, you’ll of course already have the building materials required for the first stages. However, if you have the space and funds available, consider ordering the materials required for later build stages, too. Shipping delays are a frustrating and all-too-common cause of halted build work, and problematic weather may just provide the perfect pause for you to eliminate this issue.

Ensure warranty certificates are up to date
Ideally, your self-build home will have no defects - but that’s not always the case. While significant structural issues (such as in the foundations or load-bearing elements) aren’t always immediately apparent, any that do crop up will usually do so in the first two years after completion. These risks can be covered with a structural warranty (sometimes referred to as latent defects insurance), which usually lasts for 10 years and costs anything from £1,500 to £5,000, depending on the size of your house and complexity of the project.
Your warranty provider should visit at regular intervals throughout the build to confirm that the house has been built to a satisfactory standard at each stage, and issue certificates to this effect. So, if you’re anxiously waiting for wild weather to pass, now’s the time to ensure you’ve received warranty certificates for any build stages you’ve managed to complete so far.
Book your EPC assessment
Every new build requires an Energy Performance Certificate (EPC) to be prepared by an accredited assessor. Using the Standard Assessment Procedure (SAP) methodology and software, the energy performance and environmental impact of your self-build is assessed and compared to other dwellings. After the assessment, the assessor will give you a digital copy of your certificate.
While the build will need to be completed before the assessment can be carried out, there’s no harm in booking one in for just after your estimated completion date. After all, you can always push it back if it’s looking unlikely the build will be finished. It’s worth bearing in mind that the cost of an assessment varies by assessor and the size of the property.

Decide on your homeowner insurance policy provider
While you’re covered by self-build insurance throughout the build process, you’ll need to switch it out to a homeowner’s policy once it’s ready to move into. Although they’re infinitely customisable, there are certain standard elements including (but not limited to) damage to the exterior or interior of your house, personal liability for damage or injuries, and even hotel or house rental while your home is being repaired or rebuilt.
With so many optional additional elements and insurance providers available, this is a task that can take some time. Use your weather-induced downtime to research different options and policies, and make a shortlist of those you feel could be the best option for you.
Still in the early stages of your self-build? Get the need-to-know planning tips before you start, and brush up on these seven tips for a successful project.